Hassle-free OCAP integration for iOS developer
2018-08-24
Hassle-free OCAP integration for iOS developer
Author: Jonathan Lu (Mobile Engineer at ArcBlock)
In our previous blog posts, you've learned about the OCAP service and its Playground, and now you know how to dive deep into the blockchain data in the Playground by writing some GraphQL queries. After playing for a while, you found some insights and want to build an Mobile application that make use of those queries. Can we do that?
Of course we can! In fact, ArcBlock has prepared a suite of tools for you to integrate OCAP from mobile platform. In this post, we will introduce the iOS SDK that you can use to connect with OCAP without any hassle.
Let's say you want to build an app that displays a list of richest Bitcoin accounts. The rest of the article will walk you through how to achieve that with our SDK.
Install the SDK
The first step is to install the SDK to your project, and you can do that via CocoaPods or Carthage:
Generate Swift codes
Let's head back to the Playground for a while.
One of the great things about GraphQL is type safety. Once the queries and schema are finalized, we know the type of the query arguments and the return data before runtime. Therefore, we provide a codegen tool to help you generate Swift classes that wraps your queries. The SDK will use these classes, and enforce type safety of your app in compile time.
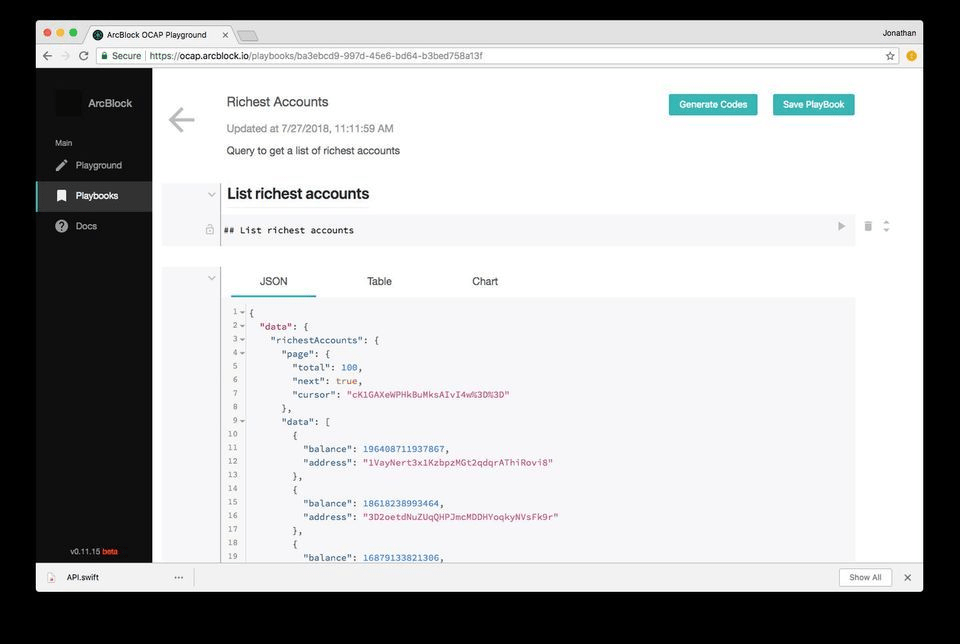
The codegen tool is directly integrated into the OCAP Playbook. Inside the playbook, you can see a Generate Codes button. Choose Swift as Language and generate, and an API.swift file will be downloaded to your local machine. Finally, you just need to drag the file to your project folder.
Here's the example playbook for querying the richest Bitcoin accounts.
Install the XCode File Templates
ArcBlockSDK provides some XCode file templates for you to create new classes. To install them, run the following command:
Initiate an ABSDKClient
Now let's write some codes!
An ABSDKClient is a GraphQL client that's responsible for sending queries, resolving results, managing caches, etc.. You can create one client for each request, or share one across your app:
Create your ViewController
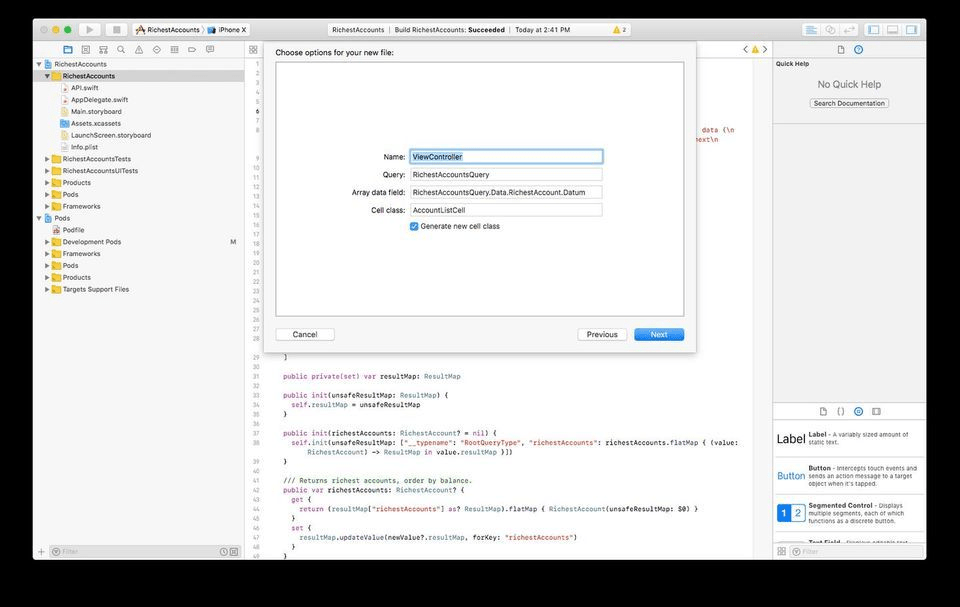
Now let's use the ABSDKClient to send our query and display the result. We will create a new ViewController with the file templates we just installed.
Now An ABSDKTableViewController and an ABSDKTableViewCell subclass are created.
Configure your ViewController
Next, we need to configure some properties for the ViewController.
The above codes specify the client to use, the closure to extract the data field, the closure to extract the page field, and the query wrapper class to use.
Display data in the cell
Next, we need to wire the data field to the UI elements in the TableViewCell
A XIB file is also created for the cell class, so you can customize the look and feel of the cell as you wish.
Build and Run
That's it! You can now build and run the app.
As you can see, you only need to write a few lines of codes, and the SDK handles sending network requests, resolving result, storing caches, data binding and pagination.
The example project can be found here.
Finally, if you want to have more control over your ViewController(for example use a CollectionView instead of TableView) and only wants to use the SDK in data or networking level, please check out Data Binding, Client and the Class Reference in our documentation.


