How to Launch ABT Node from the AWS Marketplace
2020-09-01
A step-by-step tutorial to help you launch ABT Node from the AWS Marketplace to one-click deploy blockchains, start building your DApps, smart contracts and more.

The new ABT Node is your operating system for the decentralized web and makes it easy for developers and teams to create, deploy and manage your applications and blockchains. Deploying ArcBlock's new ABT Node on Amazon Web Services (AWS) is as simple as following a few steps. Go to the AWS Marketplace and search for ArcBlock ABT Node, or click here.
- Once you are on the ABT Node AWS Marketplace listing click “Continue to Subscribe.”
- On the next page, choose “Accept Terms.” Once the “Accept Terms” is complete you will see an effective date showing today’s date. Now, choose “Continue to Configure.”

- On the next page, you can select the region where you would like to deploy the node. Review the drop-down menu and choose your region. Once selected, choose “Continue to Launch.”

- In the next section, choose “Launch from the Website” from the drop-down menu, and then select your preferred EC2 instance size.

- For the Security Groups settings, click on the button labeled, “Create New Based on Seller Settings.”

- Enter a name for your security group and a description. From there, your new settings should include the following:
- Port 80
- Ports 443
- Select “Save” when done.
- In the future, these ports will be updated and won't be needed in future versions.
- note, we do not recommend enabling port 22 unless required by your organization.

- Next, choose a key pair from the Key Pair Settings drop-down menu or create a new pair. You can use the key pair to help login to the instance later if needed. See: https://docs.aws.amazon.com/AWSEC2/latest/UserGuide/ec2-key-pairs.html for more information.

- To create a new key pair, follow the link called, “Create a key pair in EC2” and select “Create a Key Pair.”

- Choose your name for your keypair and select “Create.”
- Now, the new key pair will be listed as an available key pair and a file of the same name will be downloaded.
- Note, you may need to change the attributes of your key file using the following command:
chmod 400 KEY_PAIR_FILE - Now, go back to the “Continue to Launch” page and select your key pair.
- Click Launch
- Before logging into your ABT Node for the first time, you will first need to install and setup ArcBlock’s decentralized identity wallet – ABT Wallet – and have it set up on your mobile device. ABT Wallet is a decentralized identity wallet used to access, configure and run ArcBlock services including your ABT Node.

You can find the download links for the wallet here – https://www.abtwallet.io, and can learn more here - https://www.arcblock.io/en/post/2020/02/21/arcblock-releases-updated-decentralized-identity-wallet
- Now, with your node running open http://YOUR_PUBLIC_HOSTNAME:8089 to begin setting up your node.
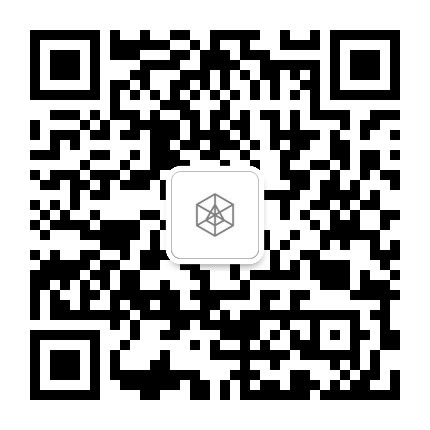
- Accept the end-user licensing agreement and use your ABT Wallet to scan the QR Code to begin the setup process. Upon completion, you will be taken to the ABT Node dashboard.

That's it! Congratulations. Your ABT Node is now up and running. With your Node up and running let's go ahead and try installing your first blocklet and building your first blockchain.
For more information on how to deploy ArcBlock’s ABT Node, how to create and use Blocklets, or set up your own decentralized identity service, check out our ABT Node documentation here https://docs.arcblock.io/en/abtnode/introduction/what-is-abt-node.