Migration Application Guide
2023-04-04
The recently released Blocklet Server 1.16.2 has made improvements in various aspects, especially in terms of security and component usability:
- The application private key is now saved in your own wallet, which enhances security. All assets related to the application on the chain can be directly viewed and managed in the wallet.
- The new structure provides greater flexibility for composing your application. For example, you can modify the mounting point of any component or delete any component, and so on.
To take advantage of these improvements in your running application, you need to migrate your application. This guide will introduce how to migrate your application:
1. Wallet Requirements
Currently, we provide wallets for three platforms: Android, iOS, and Chrome/Edge extensions. For the migration process, you need to use the latest version of the wallet:
- Android v4.12.0+: https://play.google.com/store/apps/details?id=com.arcblock.wallet.app.product
- iOS v4.12.0+: https://apps.apple.com/app/id1460083542
- Chrome/Edge Extension v4.7.1+: https://chrome.google.com/webstore/detail/did-wallet/ibjflpbmadchofnbpppegdbnifdgincp?hl=en
2. Migrating Your Application
This guide will demonstrate the process using the Edge extension wallet. The Android and iOS wallet interfaces and operations are the same.
2.1 Login to the Application Dashboard Page
- Click on the personal information avatar:

- Select Owner or Admin passport in the wallet:
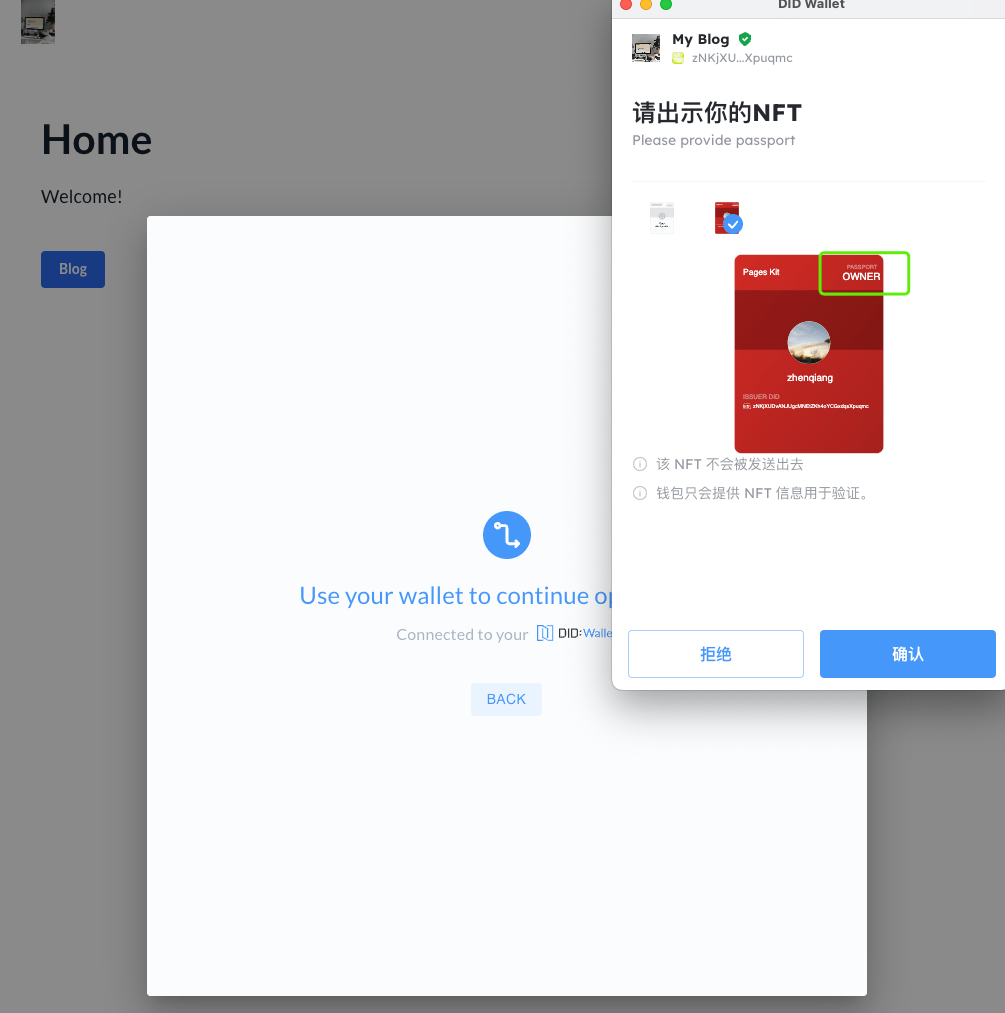
- After logging in, click on the personal information avatar, select
Dashboard, and enter the Dashboard page: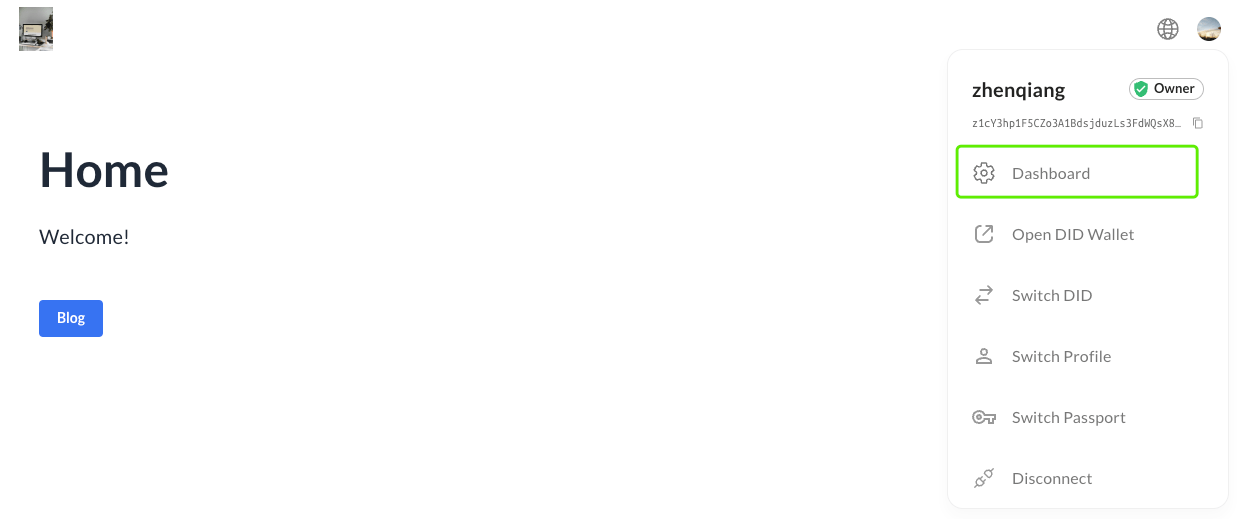 3.1 Note: If it is a Page Kit application, select
 Page Editorhere: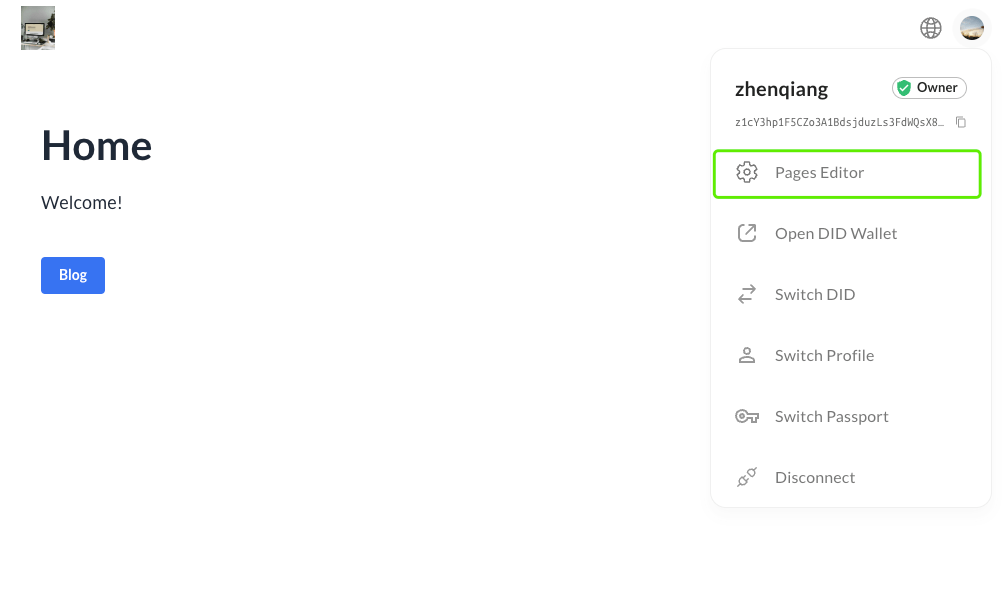 3.2 Note: If already logged in, but not Owner or Admin passport, you can click on
 Switch Passportto switch: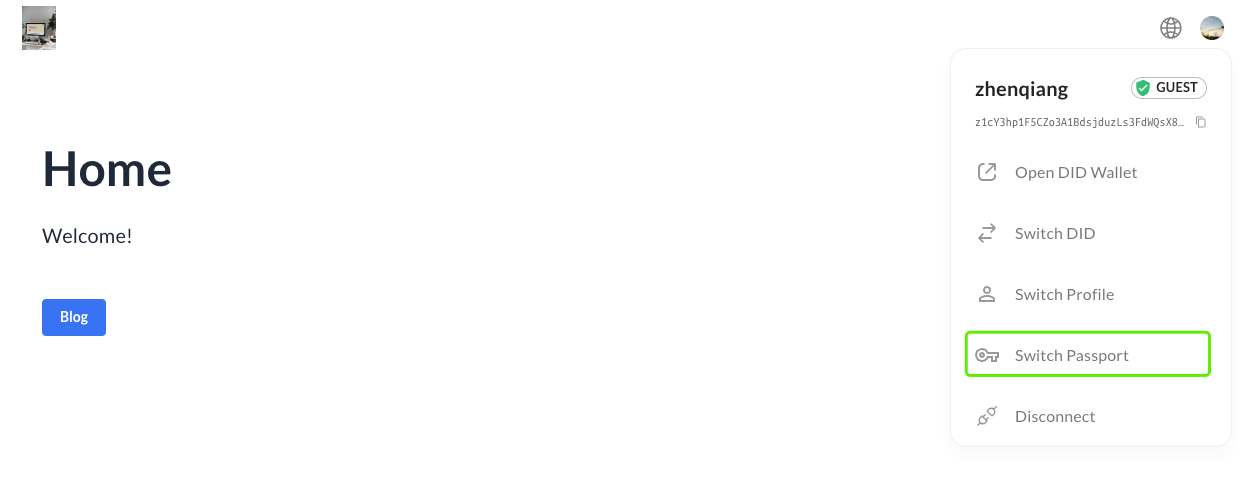
- Click on the
Dashboardin the sidebar to enter the dashboard page: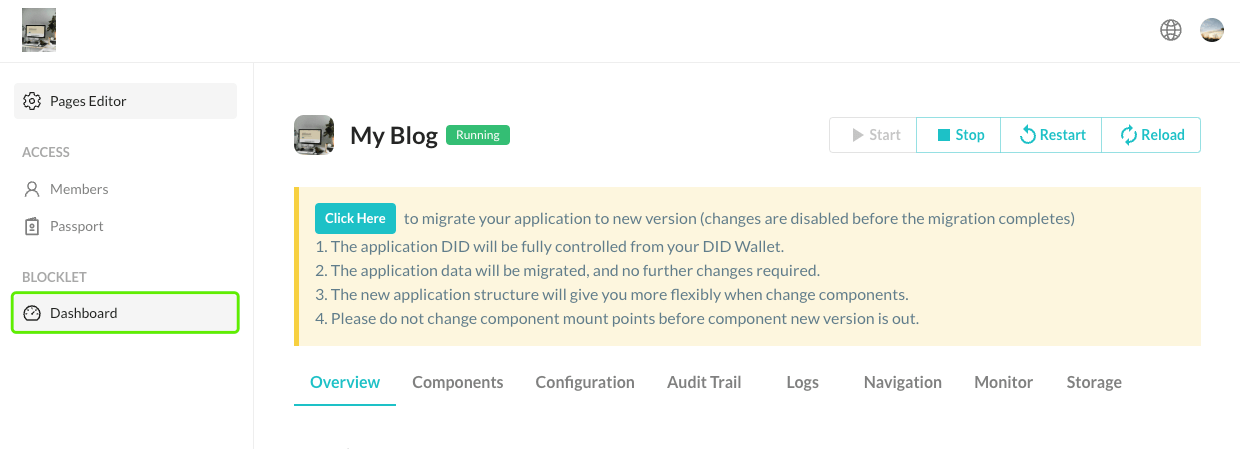
2.2 Migrating
- Read the migration reminder carefully:
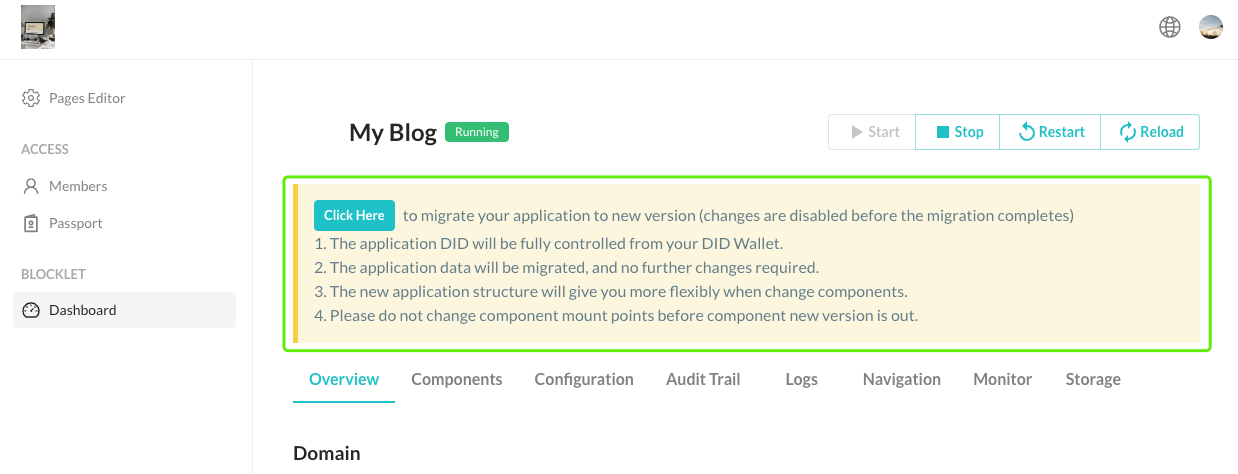
- Stop the application.
- Click the
Click Herebutton in the migration reminder to start the migration: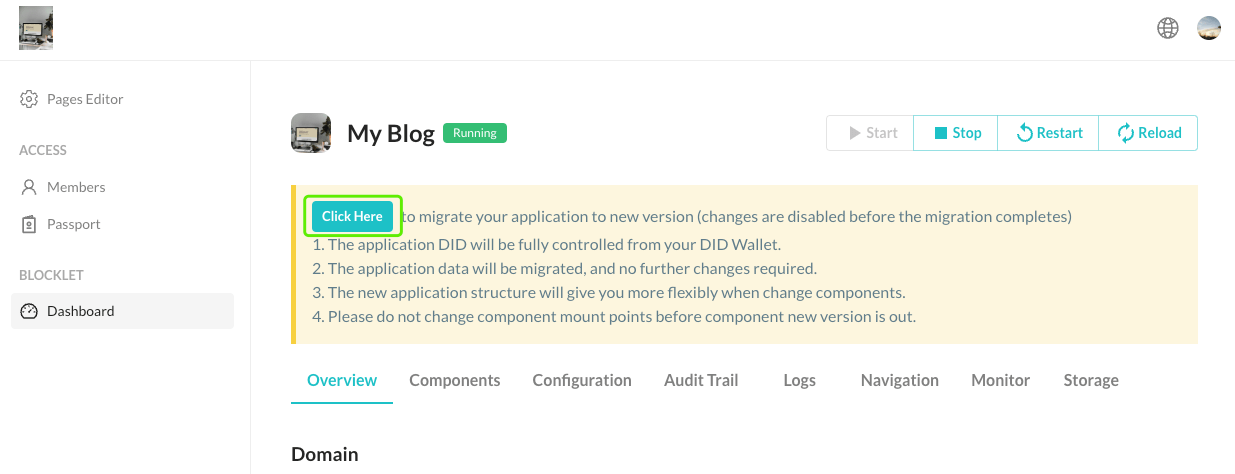
- Confirm the random verification code in your wallet to ensure the migration is safe:
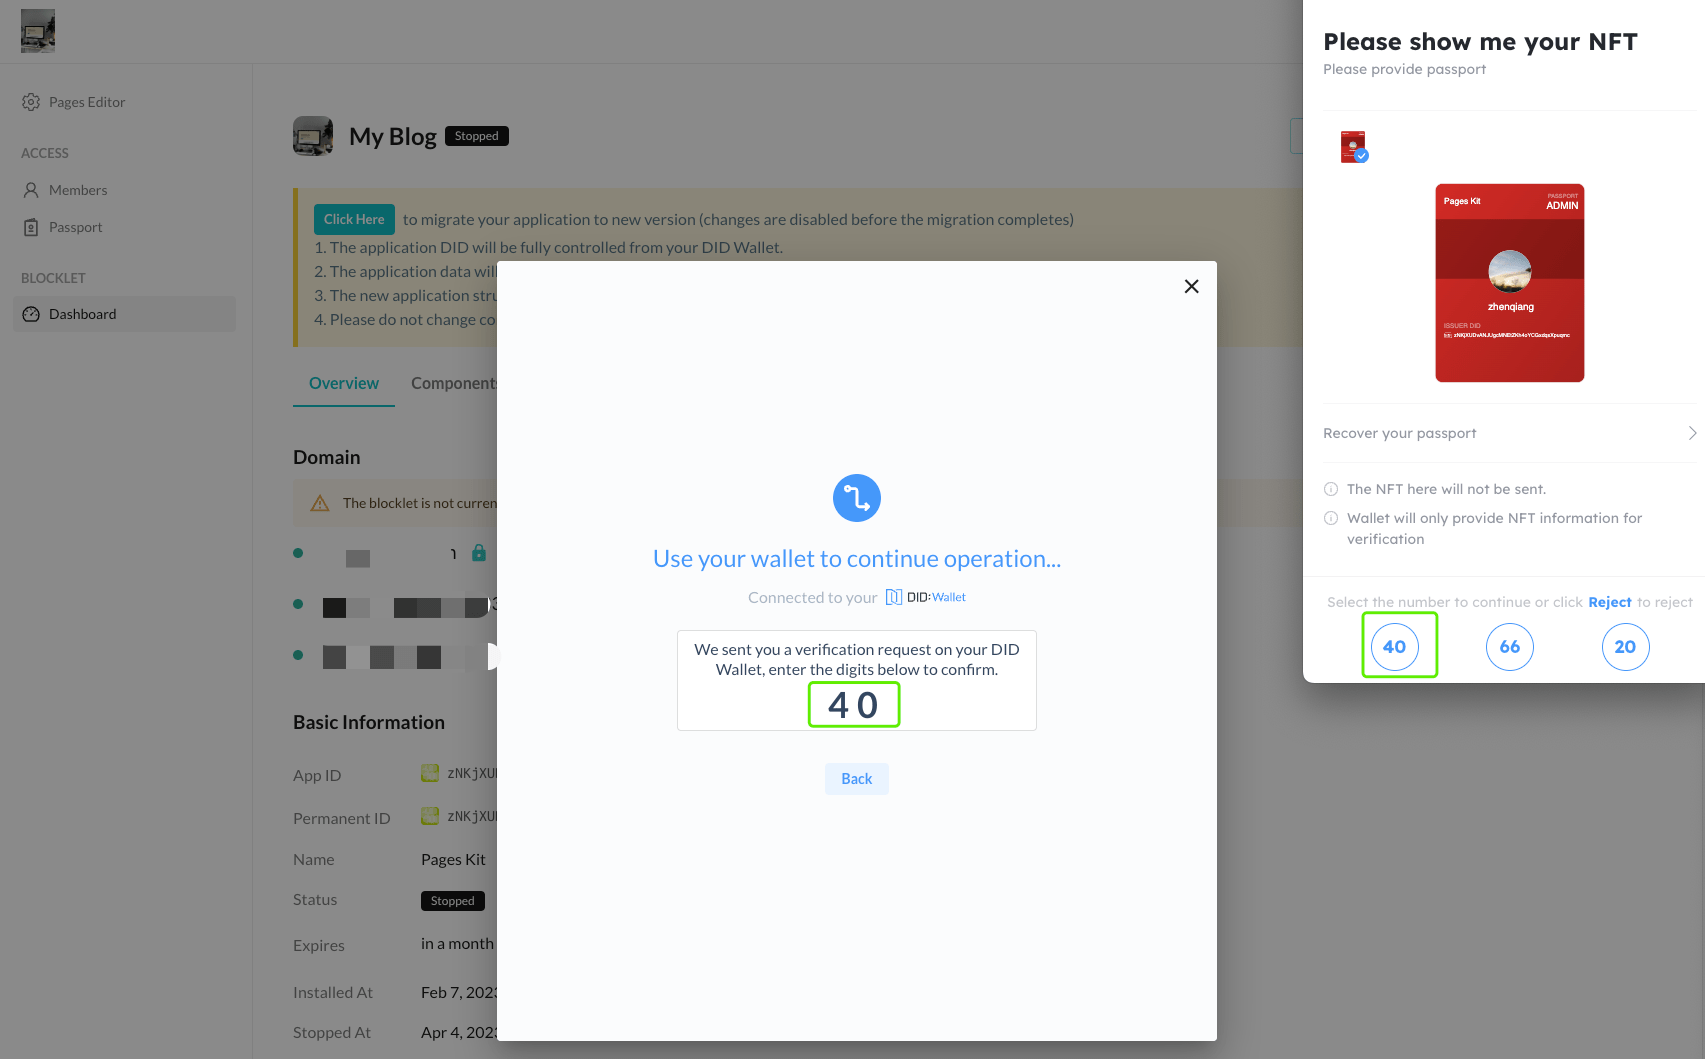
- Then confirm the generation of the key pair in your wallet:
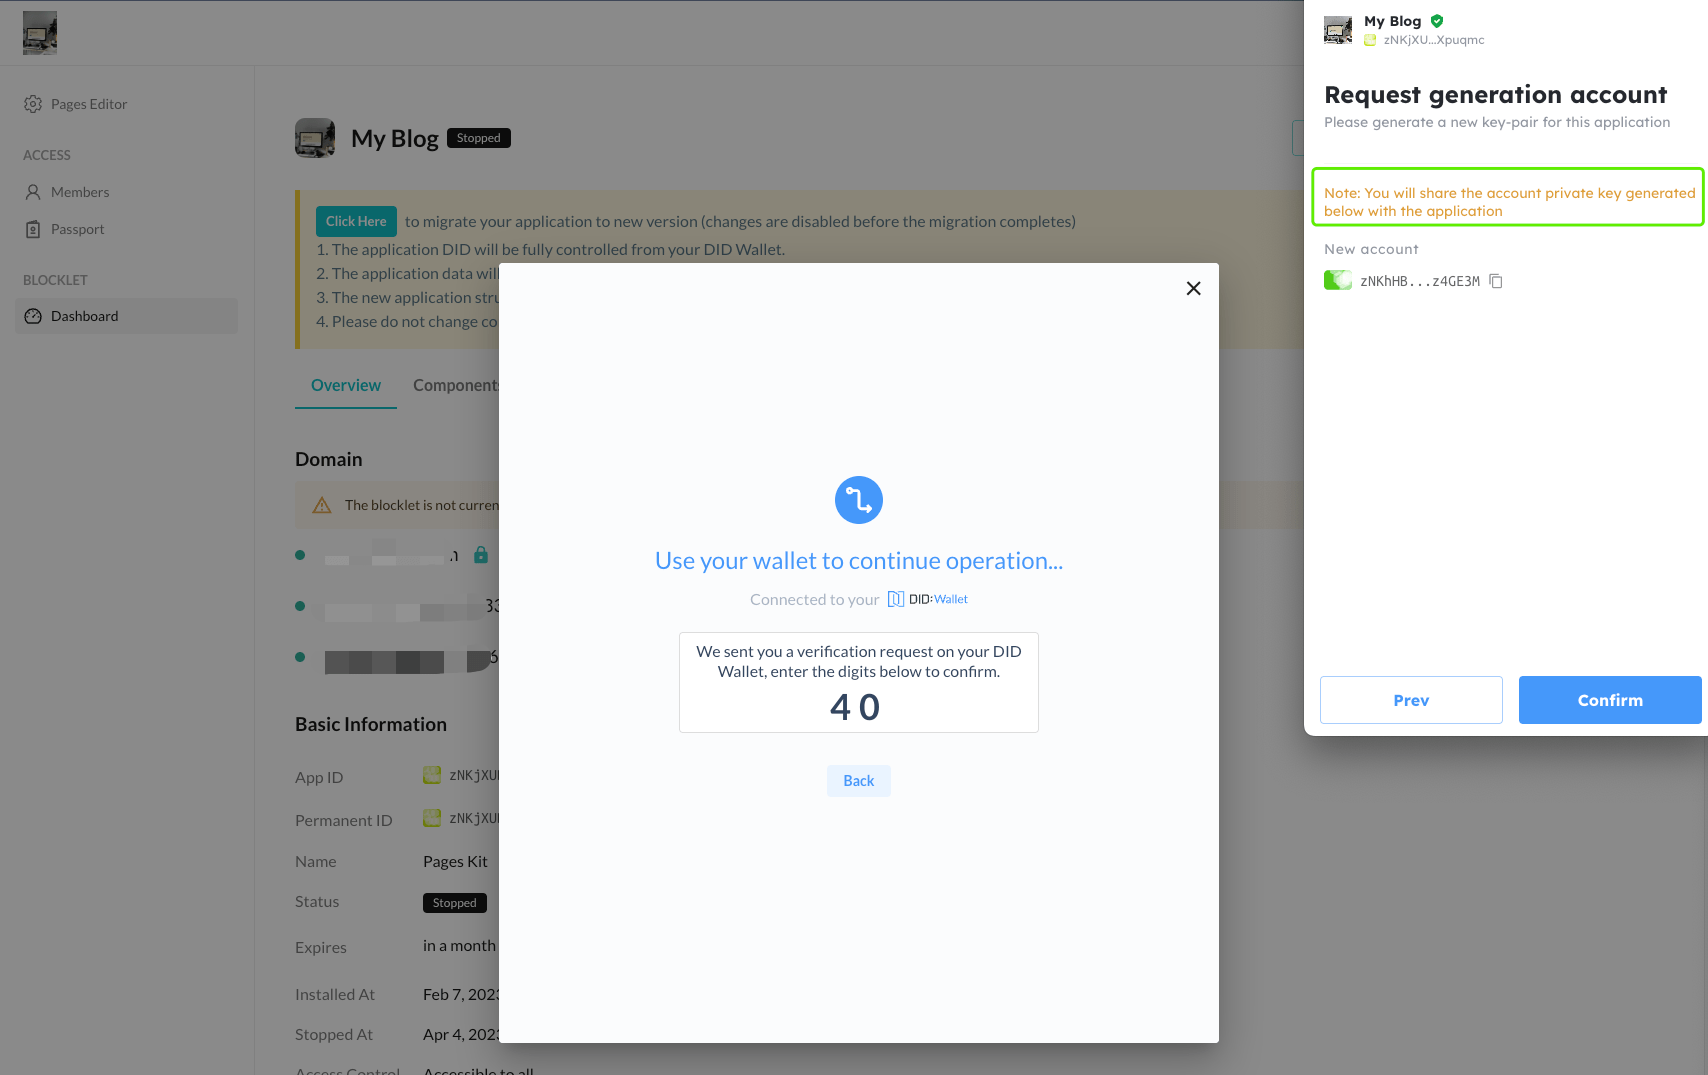
- Wait for the migration to complete.
- After the migration is complete, you need to update the components to the latest version. Otherwise, the old version of the application may not function properly.
3. FAQ
- Some application updates may break the page navigation. If you find that the navigation is not as expected, you can adjust it on the
Navigationpage: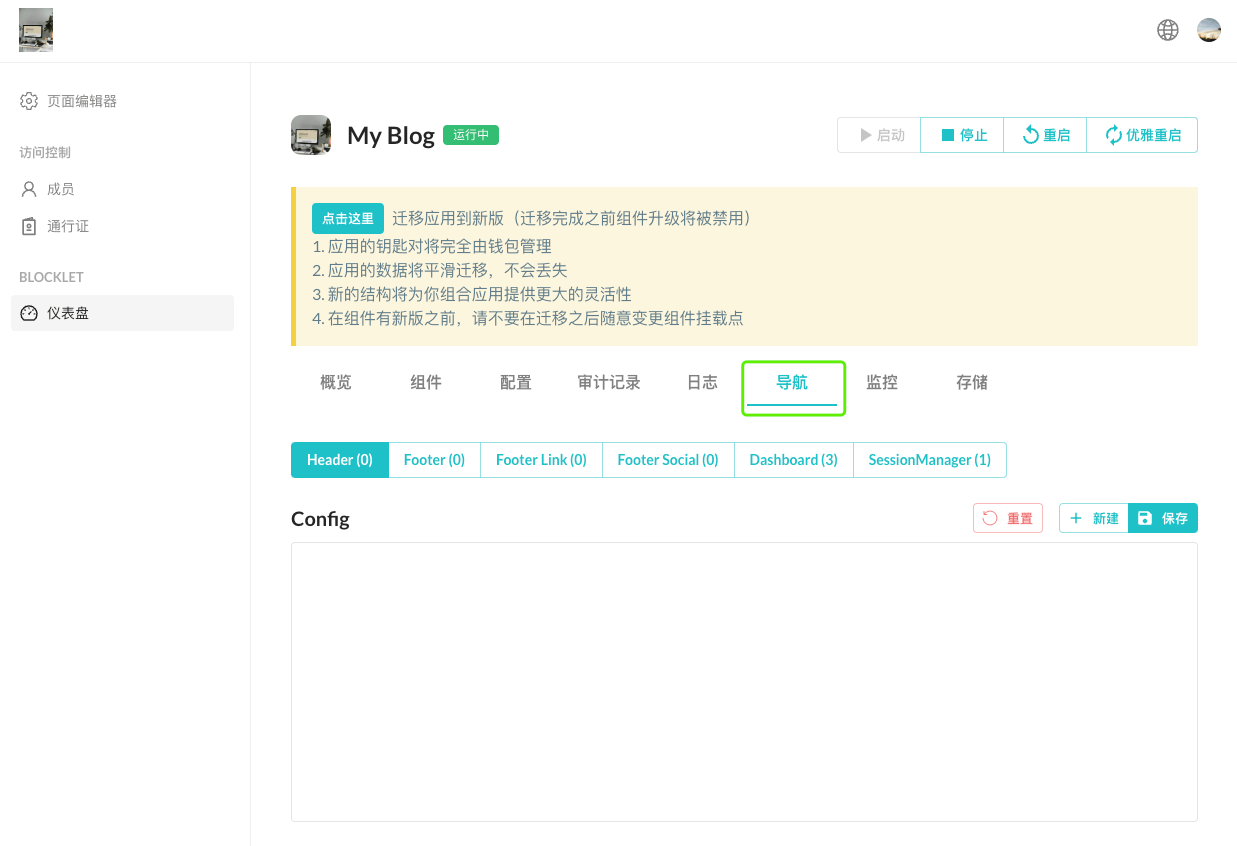
-
Unable to start NFT Maker after migration? If you encounter the issue of NFT Maker failing to start after migration, you can try the following operations:
- Option 1: If you previously manually added the DID Spaces environment variable, please find the
APP_SPACE_ENDPOINTenvironment variable and re-enter it in both NFT Maker and NFT Blender: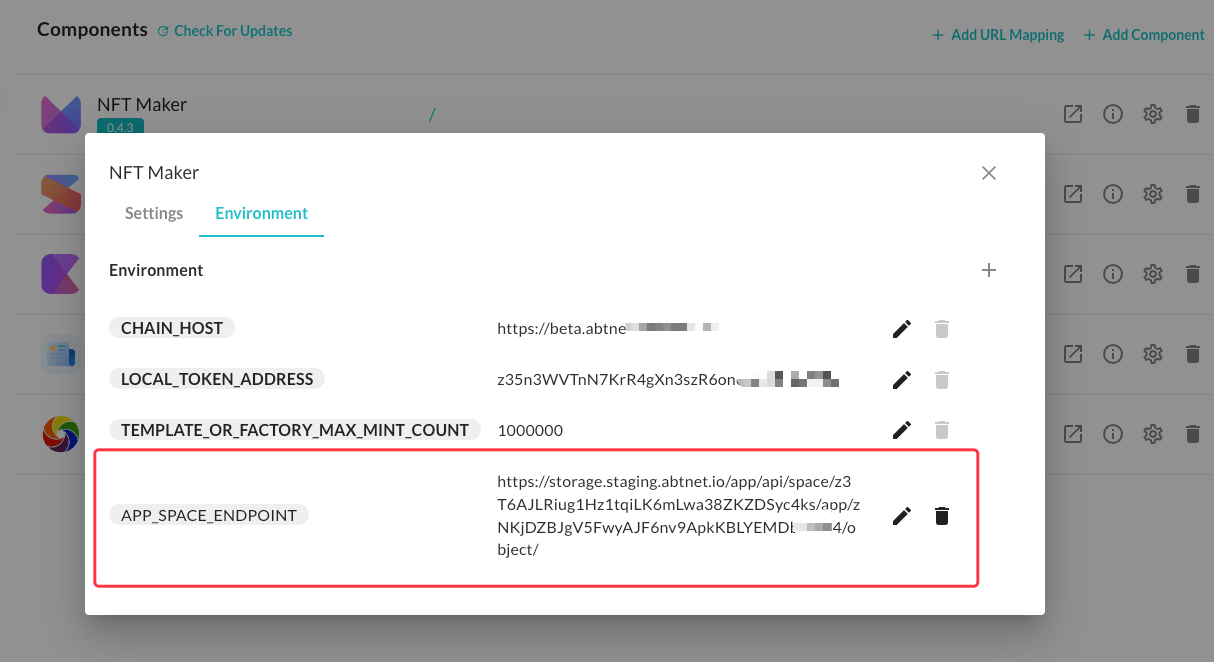
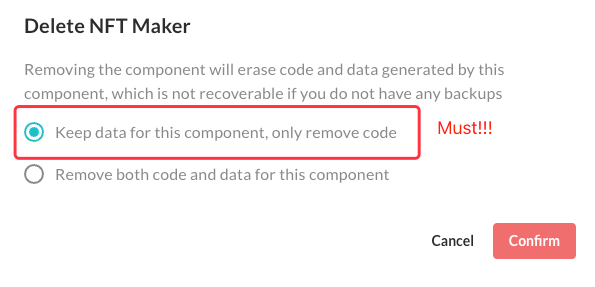
- Option 2: If you find the above operation troublesome, you can remove the NFT Maker component while retaining its data, and then add it again as a subcomponent. This will trigger a binding with DID Spaces:
- Option 1: If you previously manually added the DID Spaces environment variable, please find the
4. Follow-up
If you encounter any issues during the migration process, please contact us.
